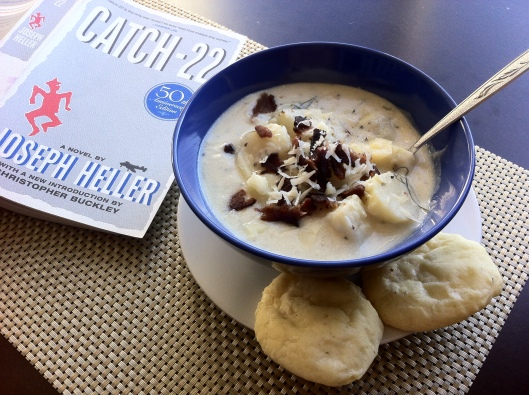
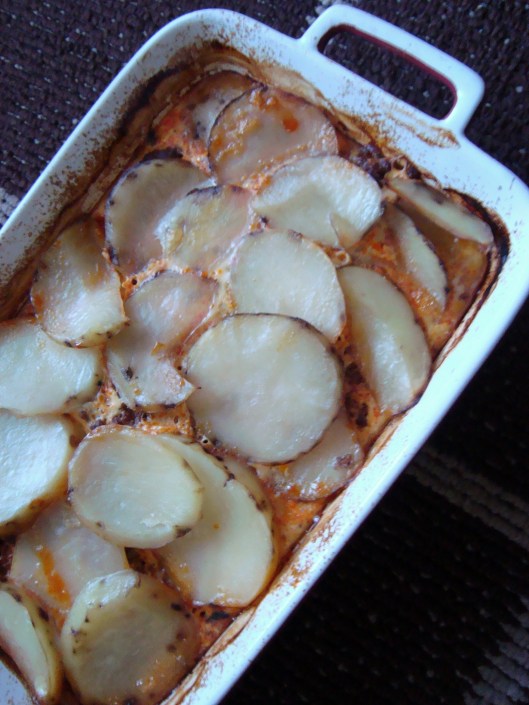
Baked Potato Soup for one with gluten free Rosemary Bread Rolls

We have a nasty bug going around at the workplace. Which means I am not going to the gym a.k.a. extremely cranky. All I want to do is lay in bed and sleep for a week, wake up refreshed and bug free. But, as I was saying to one of my staff the other day, there’s almost something nice about being sick.

Well. The few days that you do get to stay home rather than the two weeks you’d prefer. You feel miserable at first but you curl up with a book and a hot bowl of soup and for a few minutes that you can breathe properly, with the snow outside your window – life is good.

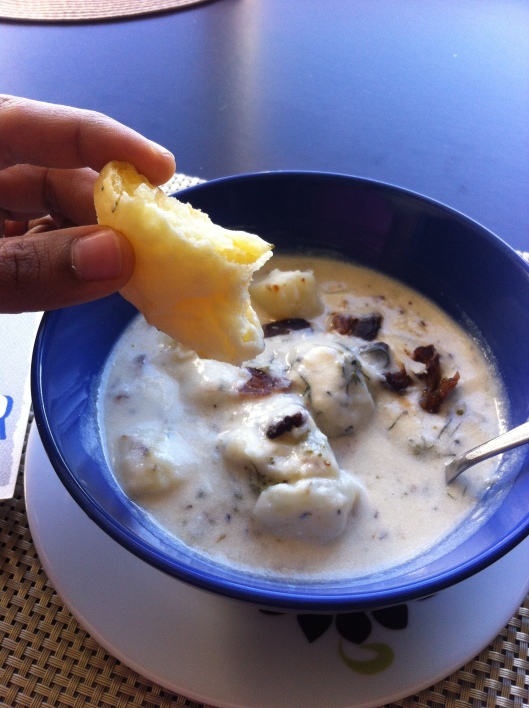
photo 2

Once upon a time I was an English major. I used to read a few books a week… I still try to force myself to read but I’m going at a snail’s pace right now. I find that when I do get to sneak a read, I forgot where I was and what was going on… But who cares because soup. And warm bread rolls… Mmm. I made this recipe for one. It can easily be doubled or tripled.

photo 3

Flaky, warm and so good dipped in a bowl of something comforting. I got the recipe for the rolls from here and tweaked it a little. My only regret is not having some nice green onions to top this soup with.

Ingredients:

  • 2-3 russet potatoes, peeled, rinsed and diced
  • 1/3 cup sour cream
  • 1 cup whole milk (You can also use skim)
  • 1T butter
  • 1/2t dried thyme
  • handful of fresh dill
  • salt & pepper to taste
  • Toppings: green onion, bacon, shredded cheese
  1. I like to par-boil my potatoes before I make my soup to save some time. I have these fancy shmancy pots that take me 12 minutes to produce a batch of cooked potatoes so it’s easier for me. If you like, you can skip this step and just let your potatoes simmer in the soup itself at the end.
  2. Melt the butter and fry potatoes slightly. Add sour cream and milk. Add the fresh dill and simmer.
  3. Add thyme, s&p and that’s basically IT. Easiest soup in the world! Top with your favorite toppings and enjoy!

For the biscuits:

  • 2 cups shredded mozzarella
  • 1 cup arrowroot flour
  • 1/2t salt
  • 1t baking powder
  • 1 large egg
  • 1T dried rosemary (Substitute with other herbs here as needed!)
  • 1/2T garlic powder
  • water as needed
  1. Preheat oven to 350F.
  2. In a bowl, mix arrowroot, salt, and baking powder.
  3. Throw the dry ingredients and mozza in food processor as well as the egg and process until mixture forms a dough. Add water or milk as desired to scrape up the last bits of the flour.
  4. Divide dough into 12 pieces, (about the size of ping pong balls) and place on a baking sheet covered with parchment. Make sure you press down to get them to stick – they roll in the oven and bump into each other. Place in freezer for 5-10 minutes.
  5. Remove and bake for 12-15 minutes. Enjoy warm!

Spicy Baked Chickpeas

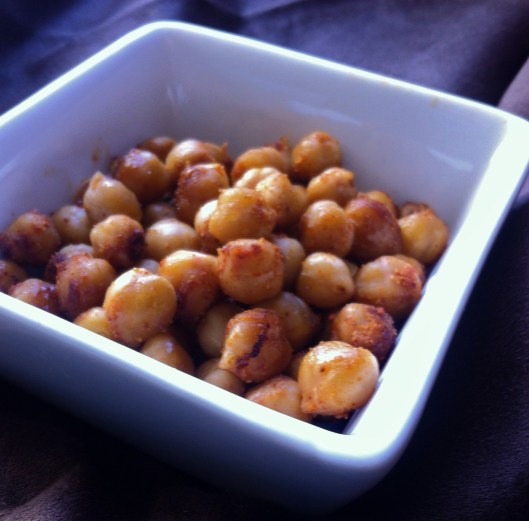
Lately I’ve been going crazy for chickpea-based things. I had a wicked craving for falafel yesterday (which I fulfilled and then followed with a falafel food baby nap). I had quite a bit of chickpeas left over and wasn’t really sure what to do with them… but then I remembered I’ve seen some great recipes floating around for spiced and baked chickpeas. photo 2

These remind me of snacks I used to have as a kid – a kind of Indian trail mix with fried chickpeas, puffed white rice and other assortments. Not very healthy but it hit the spot in a way chips never can.

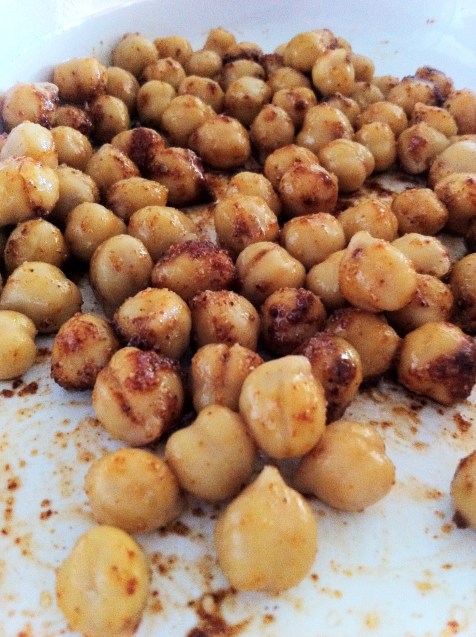
photo 1

As far as these go, they’re simple to prepare, addictive but fairly healthy. Simply mix some spices together, throw them in a pan and bake.

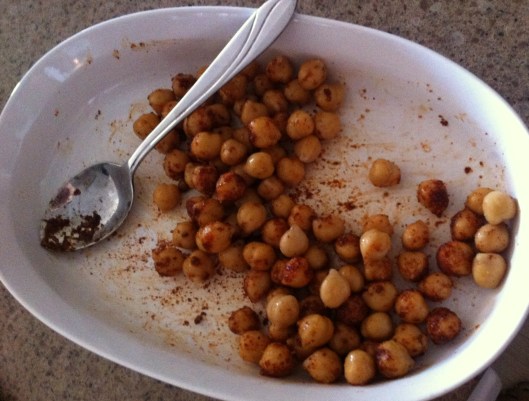
photo 3

Ingredients:

  • 1 Can chickpeas, drained, and patted dry. (Actual amount can be less than this. If you mix your spice mix in a separate bowl you can eyeball how much your chickpeas need.)
  • 1t coconut sugar – I like this because it mimics brown sugar nicely
  • 1T Oil – I used macadamia nut. It’s what I had on hand.
  • 1/2t cumin
  • 1/2t ground chipotle chili powder. If you don’t have this use regular chili but maaan does this every bring the smoky flavor.
  • 1/2t paprika
  • 1/2t salt
  • 1/4t garlic powder
  • just a splash of apple cider vinegar
  1. Preheat oven to 400 degrees.
  2. Combine all ingredients in a bowl and mix well to coat.
  3. Bake in a greased or parchment lined baking sheet for about 35 minutes.

Make sure you keep an eye on them to avoid burning, they should be nice and crunchy. I’ve also made these at 350 degrees for the same time in the oven for a less crunchy texture which I find quite nice.

Groundhog’s Day

It’s been a while. A very, very long while. I had planned a period of inactivity due to graduation, travelling the world, moving, getting a new job… and then it just got easier and easier not to post. And while I was ignoring my little blog, I was busy trying new foods, techniques, and learning more and more about nutrition. Every now and then I would cook up something amazing – one of those close-your-eyes-and-just-savor-this-bite-quietly type deals and in the back of my head there would be a niggling persistence…

Take a picture of it. Post it.

I suppose you could blame inertia.

So I guess this post is a way of forcing my accountability. Whether or not I deliver remains to be seen…

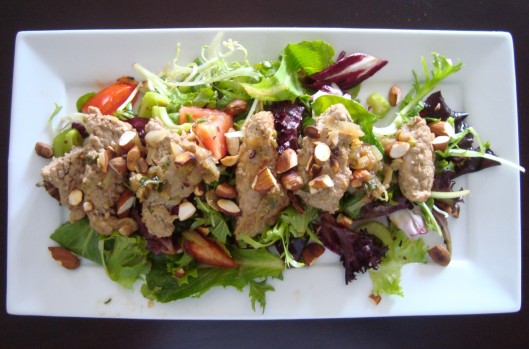
Sweet and Spicy Pork Salad with Tangy Chili Lime Dressing

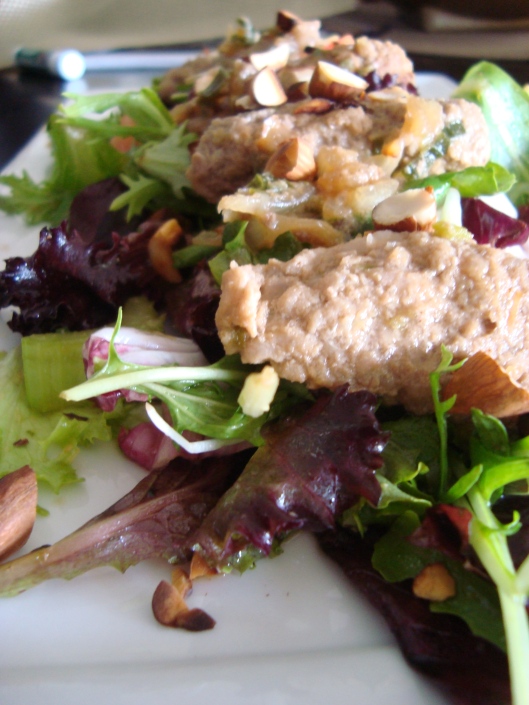
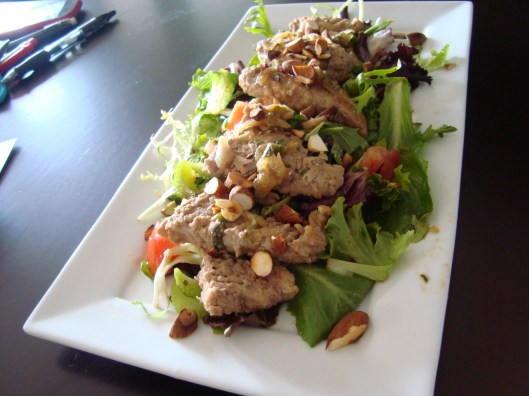
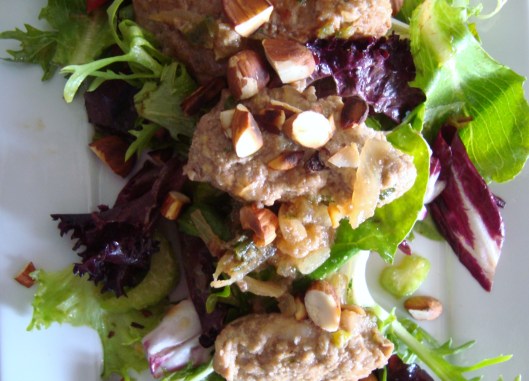
What I love about this recipe – besides the balance between sweet, sour, hot, crunchy, and DELICIOUS – is that it’s pretty versatile. First – I basically just threw it together using whatever I had on hand and second, I can think of a 10 more ways to change it up.

062

For example – hate pork? Try chicken! Or white fish! Or even steak! Steak would go really nicely with this spicy dressing.

064

Why yes those are pens in the background – they uh… add… color to the picture…

063

This recipe took me pretty much 20 minutes to throw together. If you’re using a white meat, you can marinate it for about 15 of those minutes while you put everything else together!

060

The flavors in this salad are intense. I used a pre-tenderized lean pork cutlet – if you’re using chicken breast I suggest you butterfly and cut it up into thin strips.

Ingredients:

  • 2 pork cutlets/chicken breasts/sirloin steaks/meat of choice
  • 3-4 cloves garlic
  • salad mix/lettuce
  • half a medium onion
  • 3-4T macadamia nut oil
  • 3-4 green onion stalks
  • 1 tomato or a handful of cherry tomatoes
  • 2 stalks celery
  • 1 green or red chili – de-seeded
  • 1 1/2T coconut nectar – can sub with sugar
  • 1T fish sauce or coconut aminos
  • juice of 1 small lime
  • Fat of choice for frying
  • chopped cilantro to top
  • handfull of almonds or peanuts
  • salt to taste
  1. Roughly chop garlic (save one clove), chili, green onions and add to a mortar and pestle. Grind into a fine paste. Add salt, lime juice, coconut nectar, fish sauce and mix. Give it a taste! Too salty? Add more coconut nectar! Too sweet? More fish sauce! Make sure YOU like it before you continue.
  2. Add oil and stir. What I did was use half the dressing and marinate my pork while I prepped the salad – you can skip this step entirely if you like.
  3. Quarter tomatoes and slice celery thin. Throw in a bowl with salad mix and using your hands, mix in desired amount of dressing.
  4. After about 15 minutes, fry up the onion half, diced fine, in a pan. Add chopped garlic and continue to fry until brown. Then add pork cutlets and marinade and fry until lightly browned.
  5. Take the pork out (along with juices!) and wipe down your pan.
  6. Lightly toast almonds/peanuts and then remove from the pan. When they cool, crush them.
  7. Top salad with pork, and garnish with nuts and cilantro! Drool a little. 😛

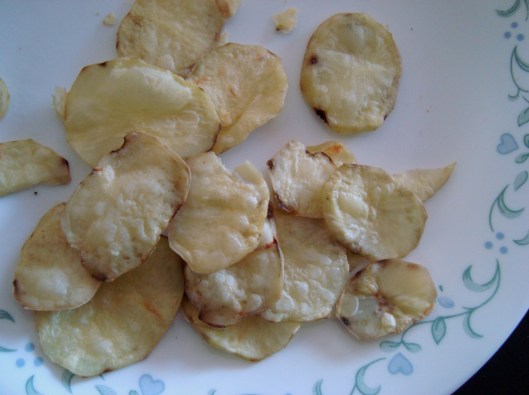
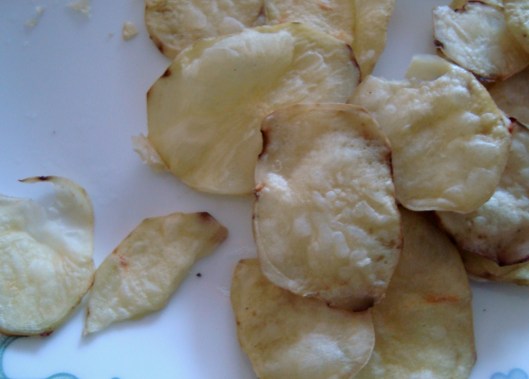
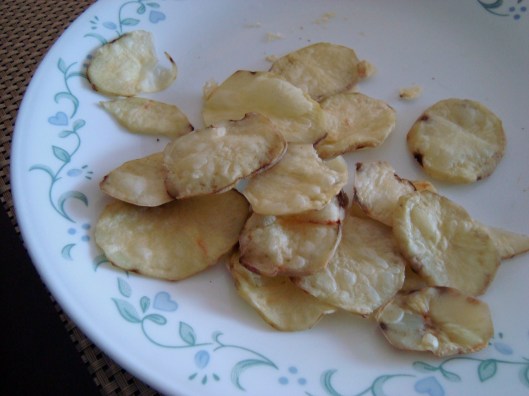
Microwave Potato Chips

I feel silly even posting this but I love these. LOVE these. Potatoes make a great post workout snack, they’re a really good source of carbs and starch that your muscles need if you’re lifting heavy. I really like to stress that I am not afraid of fats nor do I avoid them but they have very little use in a PWO meal. Which sucks because potatoes obviously are bffls with fats. (Fries, chips, poutine, buttered mashed potatoes… mmm food boner) so I was really happy when I googled microwave potato chips and found that they were indeed a thing. 028

A tasty, tasty thing. These are fairly low effort if you have a mandolin or food processor and super quick to make. And honestly you really can’t tell that they haven’t been fried… or at least I can’t because I haven’t had regular chips in ages.

027


Regardless if ever there was a healthy alternative to chips – this is it. Bonus: you make as many as you need to eat and there isn’t the rest of the bag calling your name seductively.

026


Ingredients:

  • Potatoes. That’s it really! Unless you wanna get all CUHRAAAAAZY and add garlic salt or other spices. Try them on their own then experiment 🙂
  • Oil is optional for brushing
  1. Peel and slice your potatoes using method of choice. If you’re going old school and using a knife, make sure that they are reaaaaallly thin and all the same thickness. 
  2. Rinse them. Put them in a strainer and give em a good rinse with some cold water. Let them dry out – you can spread them out on a towel if you’d like to expedite the process.
  3. I would STRONGLY suggest you use parchment paper to line your plate. They go from crispy to burnt in the blink of an eye and when they burn, the buggers stick to plates so use the paper!
  4. Brush with oil if desired. Now here is the tricky part. Everyone’s microwave is different, furthermore you all like your chips done differently. I like mine reallllly crispy. So stand around and experiment! I did 2 minutes and flipped them for another 2. Keep an eye on them because like I said, they WILL burn if you’re not there to intervene. Generally when you start to see the edges brown you want to stop the microwave. If you see brown spots appearing on the chip itself, you’ve gone too far STOP. (When starch is overcooks it’s a potential carcinogen – nothing to be too worried about unless you’re eating a pound of potatoes a day like me 😀 )

*I’ve found that sometimes they’re wet so you want to nuke them more… go for a walk, do some housework and come back to them. Often they’ll sit around and dry up and make a good chip if you leave them alone.

Happy experimenting!


Citrus Carnitas

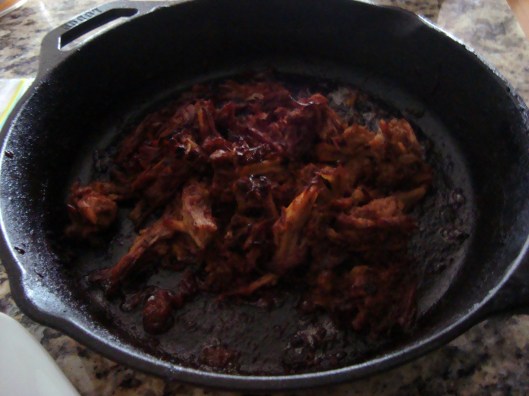
If you’ve never had Carnitas before – THEY WILL CHANGE YOUR LIFE. For realzies. Now they aren’t the best food if you’re on a diet, keep that in mind and as much as I promote people abandoning the crazy low fat high that we used to ride in the 90’s – these are really fatty. So these should be a once in a while treat, especially if you don’t have access to pastured and healthy pork. Even if you do, pork and chicken fats should always come second to Beef, Lamb and other ruminants. But the fat is what makes them so irresistibly gooooood! Carnitas, in Spanish, literally mean “little meat” and are usually made from the pork shoulder (Boston Butt) which is a nicely marbled cut of meat. And these are so low maintenance and easy to make! If you’re really lazy you don’t even have to bother with searing, just throw the ingredients in a crockpot/dutch oven and you’re good to go. 003

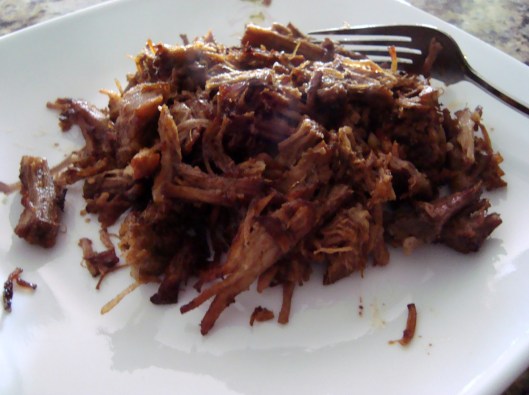
I mean DAYUMN. Look at that meat. Crispy but soft and fatty at the same time… I might have just drooled.

006


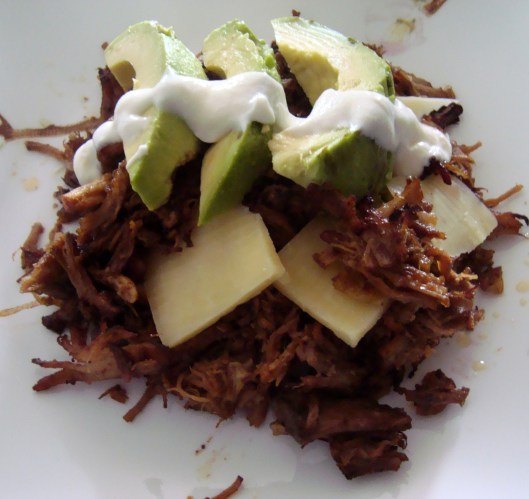
Topped with Avocados, cheese, and some sour cream – I actually think this might be the best pork meal I have ever made. I hope you either get the chance to make or try some delicious Carnitas soon. This week. Tomorrow?

004


Sup – I’m a pile of pork. There are a ton of recipes out there for Carnitas, I thought I’d add some freshly squeezed orange juice to mine to give them a nice sweet flavor so I could omit the brown sugar. Good decision.

Ingredients:

  • 3-4lbs Boneless Pork Shoulder – chopped into 1 1/2” cubes
  • 1 large onion, chopped fine
  • 4 garlic cloves, minced
  • 1t chili powder
  • 1T cumin powder
  • 1 1/2t salt
  • 1/2T cinnamon powder
  • 2 bay leaves
  • 1 large orange
  • 1T lime juice
  • Oil for frying (optional)
  1. I have some wonderful pans. Truly wonderful. They are 5-ply aluminum and naturally non stick without the chemicals so I don’t really need to use oil or butter (but do for flavor and nutrition!) For this dish because it’s so fatty I didn’t bother with the butter and just seared my chunks of meat. If you like you can skip this step and just throw the meat in a crock pot with all the other ingredients. Make sure you rub the spices on the chunks of meat first! If you so choose, sear the chunks of meat over medium heat – just lightly. Remove from pan and set aside. Really, you can drain the fat later so if you’re worried about some butter or coconut oil… you picked the wrong recipe.
  2. Fry up the onions and garlic until fragrant and soft. Now what I like to do is add the salt and cumin to the onions. It is going to start to smell REALLY good.
  3. Add the pork bits back into the dutch oven (or at this point, throw the onions into the crock pot) and throw in the rest of the ingredients. What I do with the orange is squeeze out the juice and then add the peels into the mix. Cook on low for… well as long as you want! A minimum of 5 hours seems to do the trick.
  4. From here you have more options – hooray! First, shred the pork with two forks. It should be really tender and fall apart. If you can’t stand it any longer and simply must eat the Carnitas, go for it! I definitely didn’t make it to the braising step last time. But here is where the magic comes in if you have the patience. Shred the pork and add it back to the lovely fatty mixture. Mix it all up and discard orange peels and bay leaves. Then transfer to a skillet and broil for 5 minutes. Remove, stir the Carnitas around and broil for another 5 minutes. You will not be disappointed! They crisp up and the flavor just intensifies, simply amazing. I would discard the fat but if you can spare the calories/are on a bulk it’s friggin delicious. There you have it! Top with your favorite choppings annnd enjoy. Yum.

Paleo(ish) Moussaka

Paleo(ish) because there’s dairy in this dish. And I know there are some of you out there that do not include milk in your diets but a lot of you do! After my whole30, I slowly started incorporating dairy back and found I have no problems with it – on the surface anyway 😛 I try and keep it to a minimum but the dairy I do use is always organic and pastured. On to the moussaka… As a kid I really used to hate eggplant. My mom used to make this spicy curried eggplant dish (which I adore now!) and I just hated the slimy blobby texture of it. She made the mistake of forcing me to eat it and of course, I instantly had an aversion to eggplant for years. What a shame because I was clearly missing out! It’s funny how we let those childhood tastes follow us into our adult lives… So I tried out this moussaka recipe that I stole from Mark’s Daily Apple and tweaked a little and hooo boy is it good.

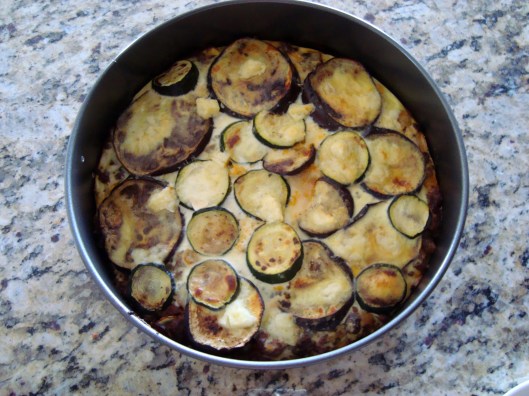
065

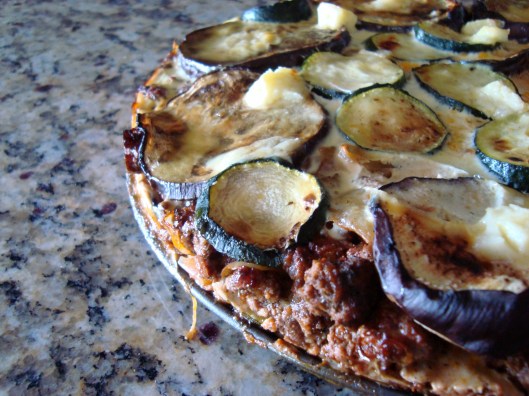
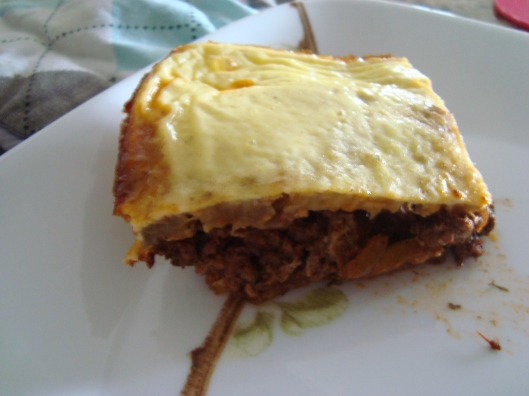
Rich beef (or lamb if you like!), warm melty eggplant all fusing together with a thick yogurty topping. I’ve got pictures from two separate occasions – once I made it into a pie and once in a standard rectangular casserole dish. You really have to be careful to use a pan deep enough because the egg/yogurt topping puffs up quite a bit but not too wide because when I made it as a pie, the topping was spread a bit thin. Mark recommends a 2 quart square baking dish.

063

Don’t get me wrong, it was still good as a pie… tasty tasty meat pie… mmm.

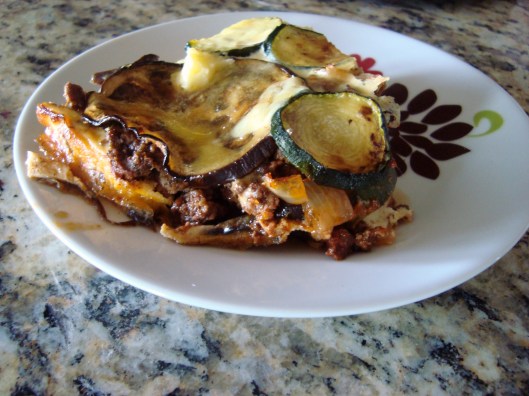
042

But as you can see here in Exhibit C, the topping was much thicker and made the moussaka more enjoyable.

067

I also added some zucchini that I had kicking around in the fridge the second time – if you like zucchini, go for it! I forgot I get sick of the taste quite easily so I think next time I’ll just stick to the egg plant.

Ingredients:

  • 1lb ground meat
  • 1 large eggplant, sliced 1/4 inch thick
  • 28 ounces/800g crushed tomato (tomato paste works okay as well)
  • 1 onion, diced fine
  • 3 cloves garlic, minced
  • 1/4 t cinnamon
  • 1/4 t all spice
  • 1/4 cup fresh chopped dill
  • 1/8 t nutmeg
  • 1 cup full fat Greek yogurt
  • 3 eggs
  • oil/butter/fat of choice for sauteing
  • Optional: Parmesan/feta
  1. Preheat oven to 350F. 
  2. Salt the eggplant slices to draw out water and put them aside on some paper towel.
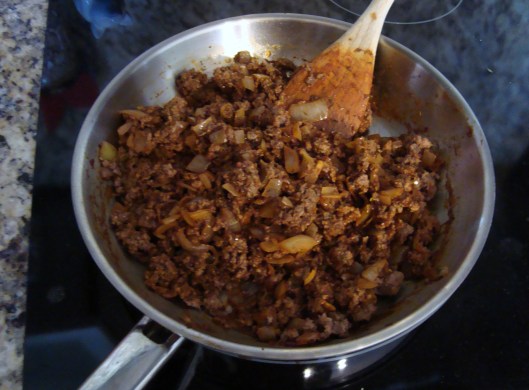
  3. In a hot skillet, saute onions and garlic until soft and fragrant. Add the ground meat and saute for another couple minutes. Add cinnamon and all spice. The meat should be brown throughout.
  4. Once you have thoroughly cooked your meat, add the tomatoes and dill. 030Your kitchen should be smelling preeeeetty good by now!
  5. Set the meat aside and work on those eggplants! Now you can choose to skip this step, I did one of the times I made my moussaka and found it tasted just fine but of course the dish will be richer if you fry the eggplant slices. So fry em! they should be lightly brown and nice and soft.
  6. In your baking dish, layer the eggplant and then the meat. Slap on the rest of the eggplant over top.

031

7. In a separate bowl, whisk Greek yogurt, eggs, and nutmeg. Finally, pour the yogurt mixture over top of the whole thing and if you so choose, top with cheese! (It’s delicious with some feta melted on top)

061

8. Bake for about 45 minutes, the top should be set and lightly golden brown. Let it cool for 20 minutes, cut, serve and enjoy!

Meat & Potato Casserole

If you’re like me, the title is enough. I’m a meat and potatoes kinda girl. Actually, I’ll eat potatoes on anything. Since I started my focus on healthy foods, I have zero cravings for sugar, candy, pasta any of that stuff… but potatoes? Specifically fries… oh mama. Anyway if you’re just starting your journey of healthy eating and you feel like there’s just too much you can’t eat, I find it helps to focus on things that are delicious that you CAN eat. I really like savory foods (like fries!) so I try and make healthier substitutions that will make me happy! … Or sometimes I just make fries. You know 😛 Oh hey, distraction:

001

Mmm potatoes… Just an FYI, I eat this whole damn thing in one sitting. God I love the way I eat 😀

005

Dusted with some Parmesan – which you can totally skip out on if you don’t include dairy in your Paleo practice!

003

Can you tell I’m getting lazy with the photos? Sigh. I’ll pick it up I promise, these are really bad but when a girls hungry and needs to get a pound of beef and potatoes in her face… pictures take a back seat. I actually like this casserole so much I’ve been make other variations of it – like tuna, sweet potato and apple and it is DIVINE! – because it’s just so convenient! It’s also a great comfort food when it’s -30 outside with windchill and all I want to do is eat my casserole outta the pan while watching Trailer Park Boys 🙂

Ingredients:

  • Roughly 500g ground beef
  • 2-3 potatoes sliced thinly – this is entirely up to you and your goals. I use this as a rest day meal but since I’m on a bulk my carbs are a bit high
  • 2 eggs
  • 1 1/2 – 2 cups milk – can substitute coconut or almond milk
  • 1 medium sized onion, diced fine
  • 2 cloves garlic, chopped fine
  • 2 1/2t paprika
  • Optional extras: cheese, bacon, ketchup and sour cream for toppins
  1. In a pan, brown the beef with onions and garlic. The nice thing about ground beef is that it’s literally a blank palette. So if you want to use other spices (garam masala + Lamb for an Indian casserole? Pizza spice + tomato paste + Oregano for Italian?) you can easily change the flavor of this dish.
  2. Add your spices and continue cooking. Make sure the beef has browned and is no longer pink throughout.
  3. In a bowl, whisk together eggs and milk thoroughly.
  4. Layer Potato slices with beef in a casserole dish and pour egg and milk mixture all over.
  5. Cover with foil and bake at 350F for 30 minutes. Then remove the foil and bake for another 30! Voila! Once, I made this casserole with a layer of bacon and cheese. Words cannot express how amazing… Hope you enjoy it!

Oven Baked Potato Cakes (Latkes)

In the Paleo community, the humble spud is a controversial food. Those of you starting their first Whole 30 have been instructed to avoid them – and perhaps if you are a newbie to nutrition, exercise and the like – you should. But I think that – just like with any new diet that catches on (not to liken paleo to a fad, I love the way I eat!) there’s a lot of over simplification. Carbs are not your enemy people! Not all the time anyways… Potatoes are wonderful foods. On their own which means no sour cream, no bacon, no canola oil to deep fry them in – they’re actually quite healthy for you – in moderation. I’m not sure why but fitness magazines (and by fitness magazines I mean Shape and Self and other crap that encourages women to lift frilly pink dumbbells) have decided that sweet potatoes are the potato’s healthier cousin. I disagree – I mean the two are like apples and oranges. Gram for gram, they have the same amount of carbs and when you look at the break down of those carbs, the sweet potato is much higher in sugars. That’s neither here nor there – If you live an active lifestyle and lift weights, potatoes are a great carb to have post work out! Just try and avoid dousing them with fat – especially if it’s after a training session. This can be difficult – have you ever had a boiled potato plain? They’re bland. Very, very, bland. Thus, I give you:

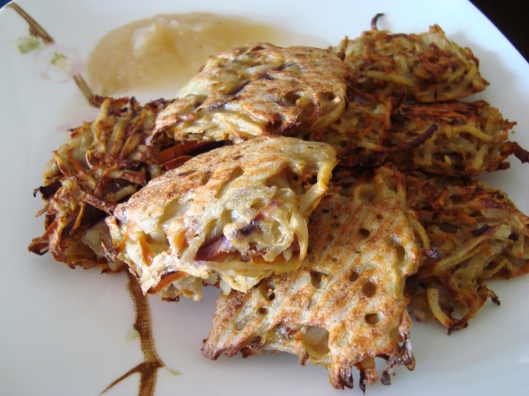
The potato latke!

025


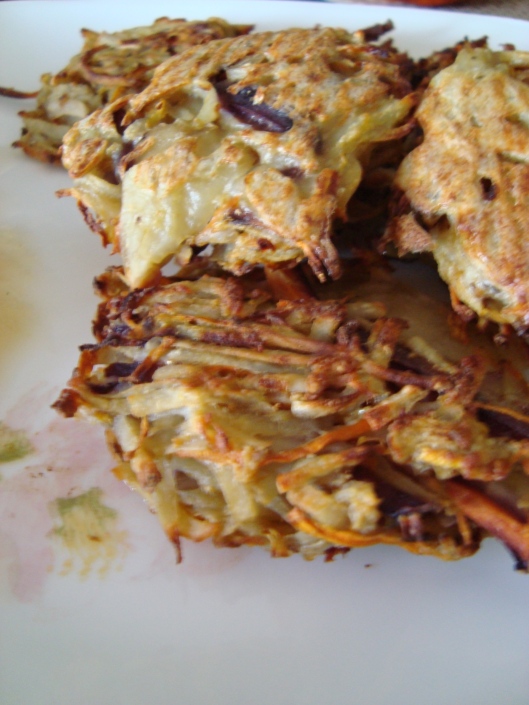
I wish I took better pictures of these suckers but honestly, they smelled SO INVITING and after I had a nibble of one – well it was a battle to get the few pictures I did get. What’s great about these is that they’re very low in fat – now remember fats are not bad or unhealthy but post work out, you want to deliver good clean carbs with very little fat.

026

I considered making a giant latke instead of little ones… which you can totally feel free to do! And I think I will next time. And then plunk my butt on the couch and watch trailer park boys and veg out on this amazing meal.

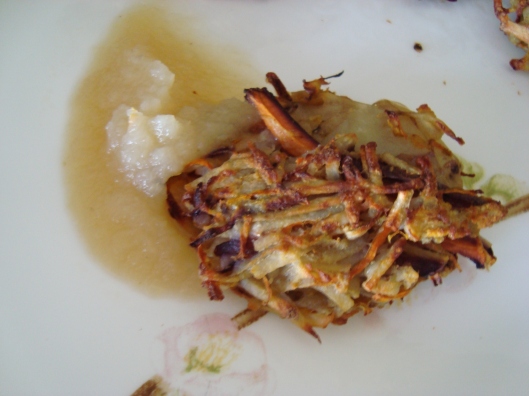
030


Top with some applesauce (or sour cream if you choose) and these are DIVINE. Simply divine. The other thing I like about them is that they are totally customizable. I had carrots laying around – so I added them. I suspect other root veggies like celeriac and parsnip will go just as nicely and add a different flavor.

Ingredients:

  • 2 small potatoes (about 200g)
  • 1 small onion – diced fine
  • 2 medium sized carrots
  • 1 egg
  • 2-3T arrowroot powder (optional)
  • Salt and pepper to taste
  • Applesauce to top

1. Peel potatoes (optional) and using a food processor or grater, shred those bad boys! Ditto carrots. Now if you’re shaking your head at me and saying, “but protein queen! The peel is where all the nutrients are!” Yeaaaah that’s a myth. But the peel IS where toxins in the potato accumulate… not a big deal if you eat them once  in a while but I have three carb backload days where I slam the potatoes so I prefer to peel them.

2. Squeeze the excess juice from them. You don’t want these to be very wet – what  I like to do is line a bowl with a cloth or some paper towel. I squeeze them out before I transfer them to the bowl and then let them drain further! Or you can just put them in a colander in the sink, that would probably work too.

3. Beat your egg so that it’s nice and smooth and mix the potatoes, carrots and onions all together. Add salt and pepper – hey here’s an idea! Let’s get caraaaaaazy and add other spices! I bet some dill or rosemary would be great! Mix in the arrowroot powder.

4. Form little patties (or large ones!) but just make sure that they are not dripping wet. I lined my baking sheet with some parchment paper to further suck out the moisture – make sure your patties are thin. I made mine less than an inch thick.

5. Bake at 425F for 20-15 min depending on how well you want them done. Take em out, flip em and bake for another 10 minutes. I really like mine crispy on the outside because they’re so warm and chewy on the inside. Top with applesauce and devour!

Raspberry Chocolate Mug Cake

Okay. It’s been a while. And while 12 of the days I’ve taken off can be accounted for by my vacation … well I’ve just kind of been lazy 😛 But I’m back! And dear lord did I miss my kitchen! I realized on my vacation that I cannot be without kitchen for too long or I start to get a litttttle bit crazy. The downsides of vacation… is that you eat like a fat piggy because you love food so much and how can you turn down that non-paleo cake that comes with the meal that you’ve already pre-paid for?!? HOW?!

Needless to say that after 12 days of eating, drinking, boozing and beaching I came home relaxed but somewhat anxious to get back to the gym and my healthy diet.

So what do I do for those cake cravings seeing as my brain is still in beach mode?!

Answer: Mug cake!

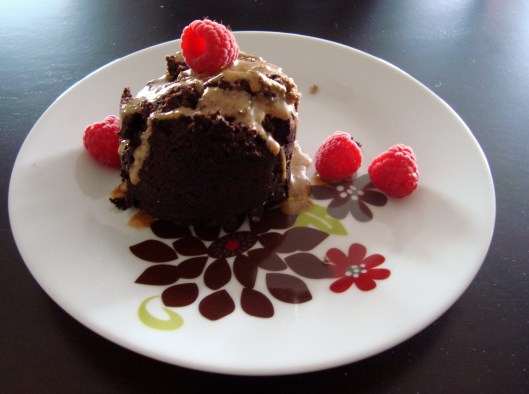
006


See, I have a ton of recipes for healthy cakes, brownies, cupcakes etc. but the problem is that I can’t stop after 1 5. I will devour whatever healthy fixings are in my kitchen and it kind of defeats the purpose of baking something healthy if you’re going to eat the whole damn pan… So I mucked about with a microwave mug cake!

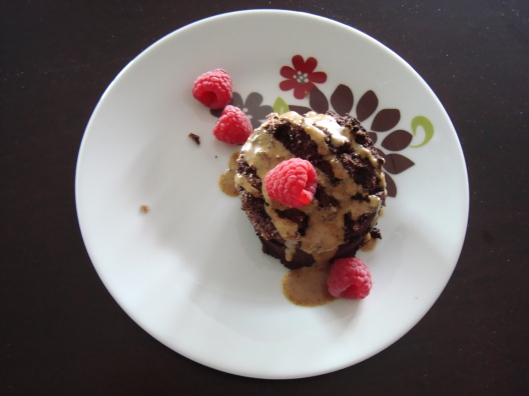
011


They’re quick and easy to make – and there’s only one of em!

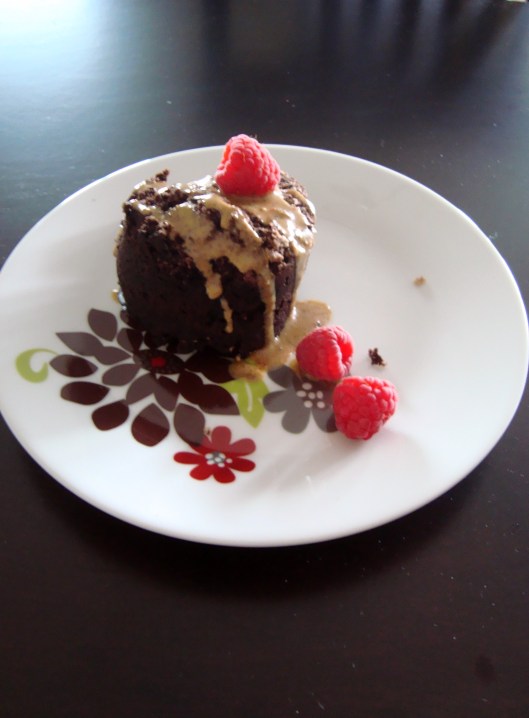
007


And the flavors are super easy to play around with – I happened to have some good quality natural raspberry flavor floating around in my cupboards and I LOVE chocolate & raspberry together so I threw some in a mug! You can easily substitute other flavorings of your choice. The sweetness is also customizable.

Ingredients:

  • 2T Coconut Flour
  • 1T cocoa powder (more or less depending on how much you love chocolate)
  • 5T Egg white
  • 2T Apple Sauce – unsweetened works fine for me but again, customize!
  • A couple drops raspberry flavor
  • Slight pinch of vanilla
  • Sweetener options: 1/3 of a ripe mashed banana, 1t honey, sub sweetened applesauce etc. play around with it although I found the recipe to be sweet enough as is
  • For a richer cake, add 1T melted butter or melted coconut butter

Mix everything together in a large mug (make sure you mix reaaaaaally well!) and microwave for 1:15-1:30 seconds. This will vary depending on your microwave – just keep an eye on the cake. Once it stops rising it should be good to go. The cake is actually really moist and I was delightfully surprised at how tasty it was! Top with nut butter or coconut cream and enjoy!